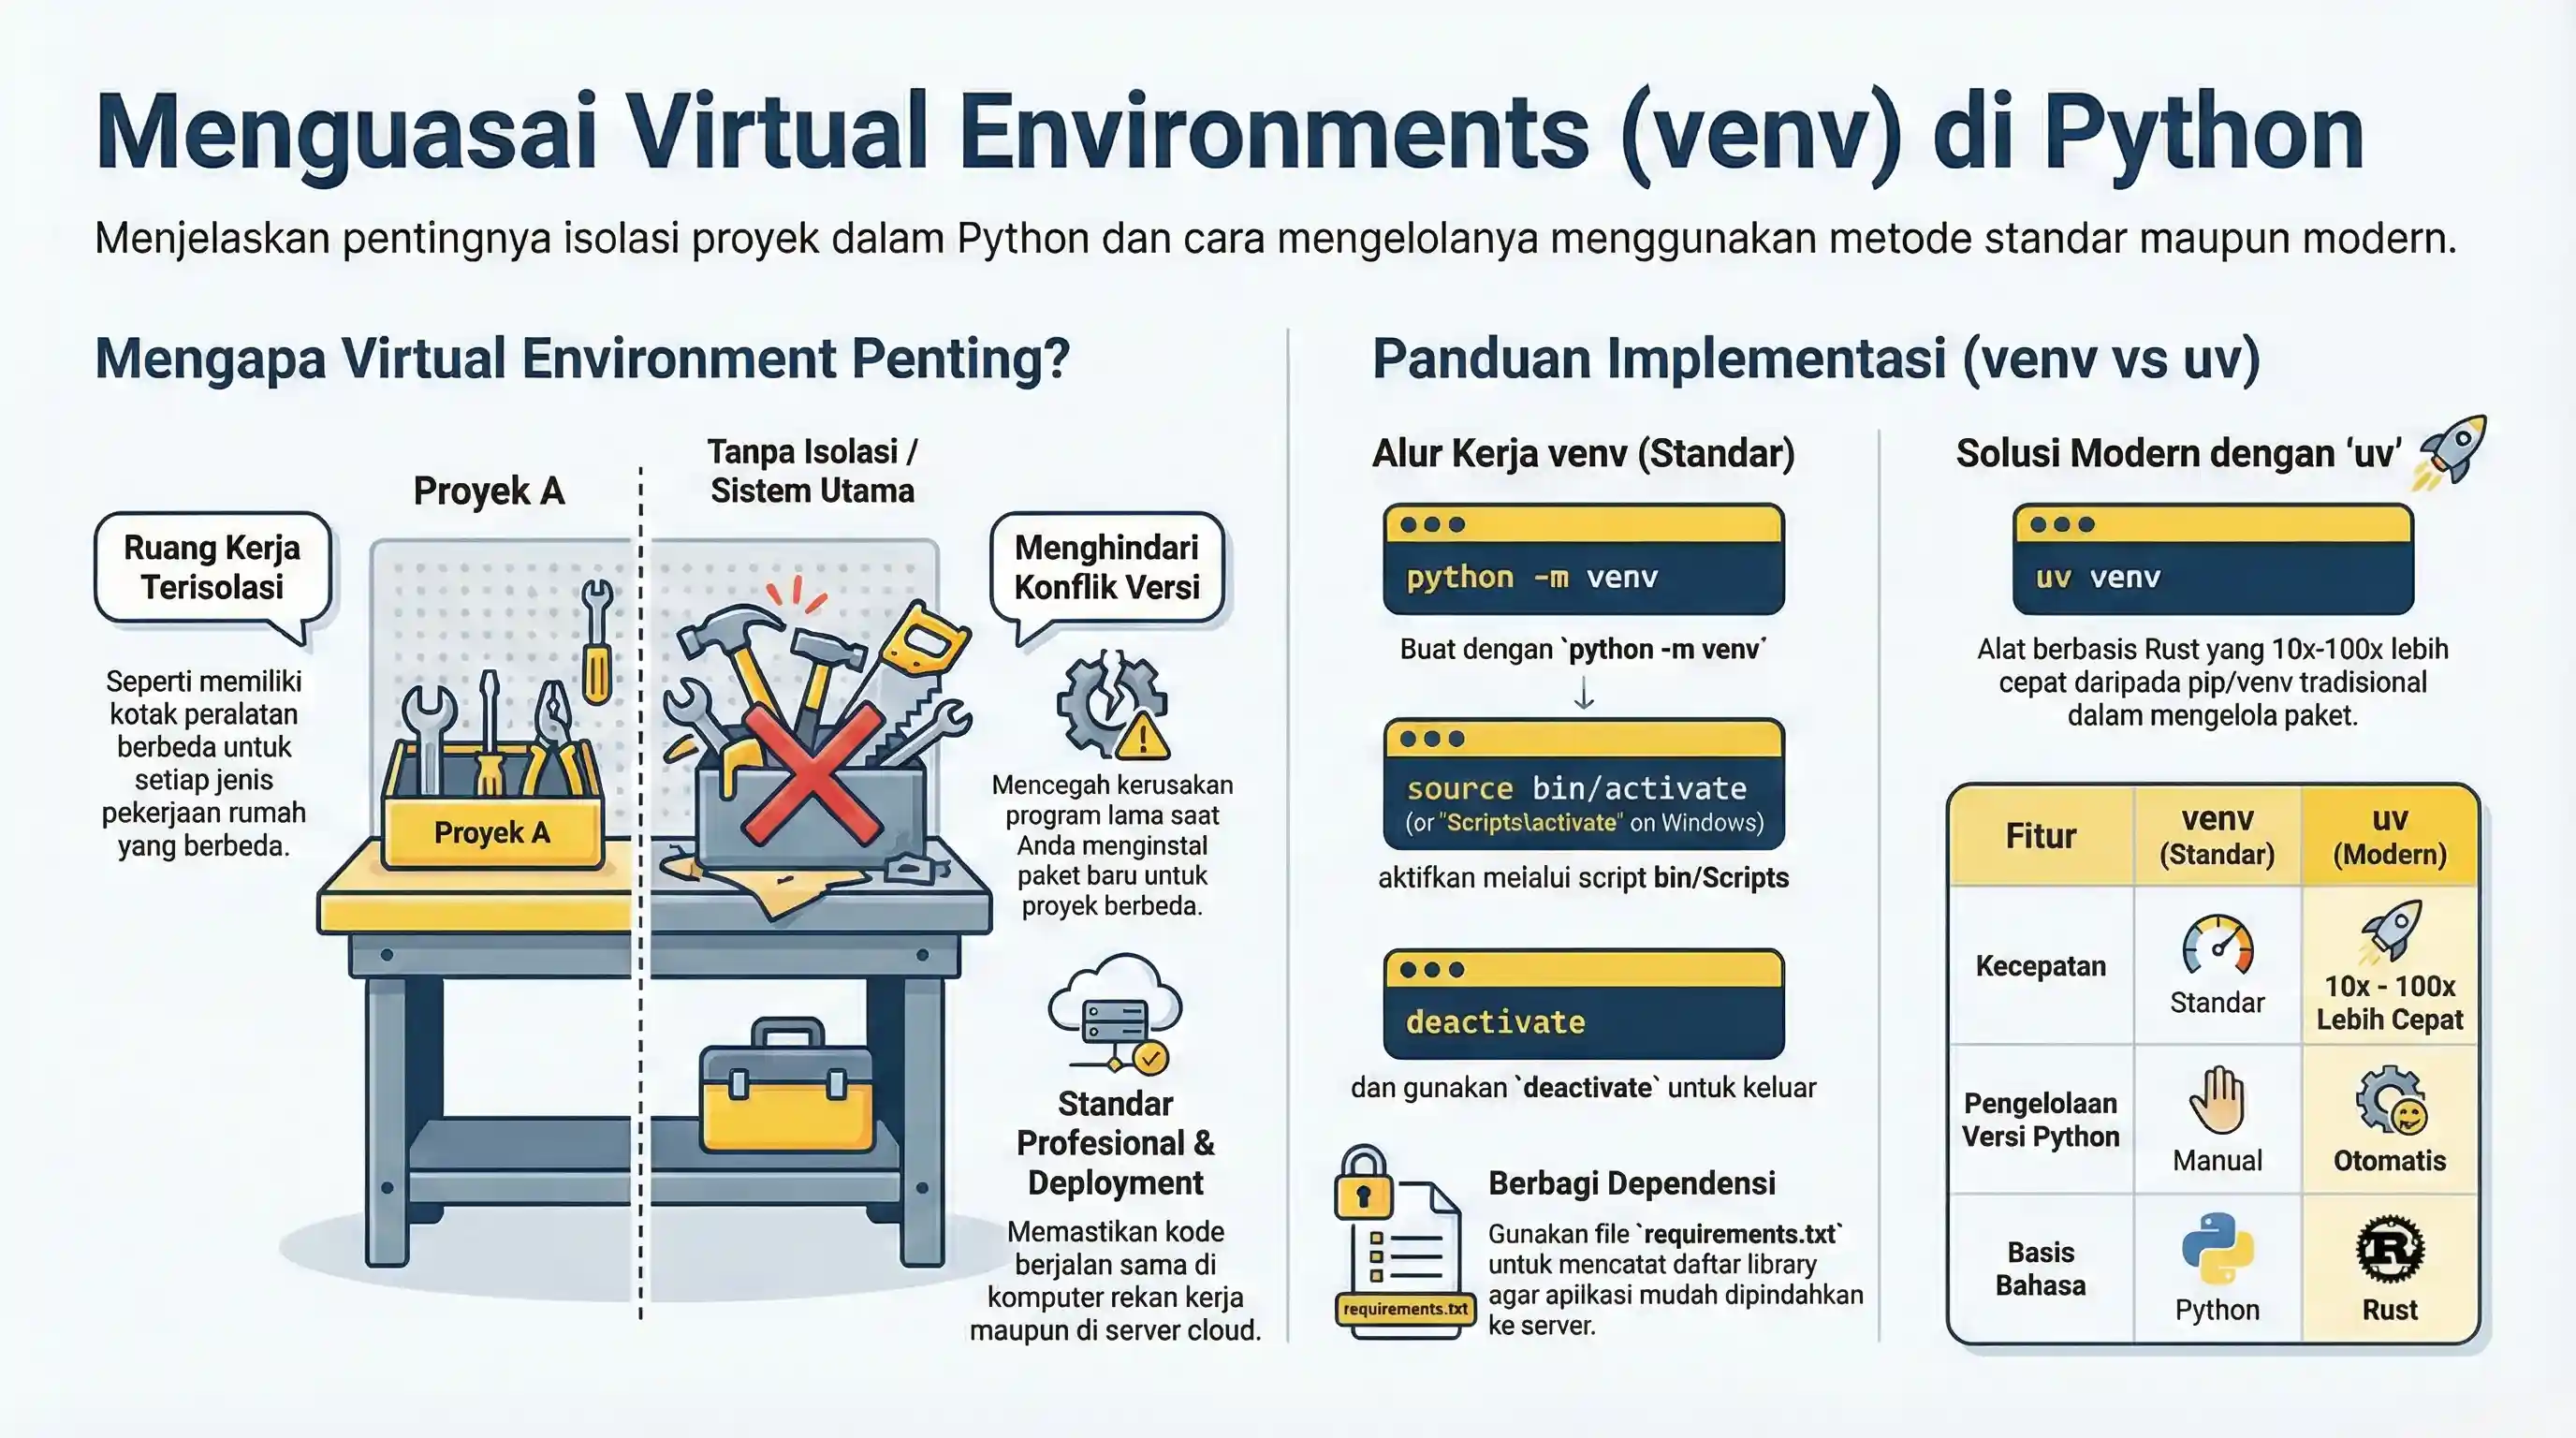
A virtual environment is an isolated Python environment for one project. It prevents dependency conflicts between projects. Use one environment per project so each project can keep its own package versions.
Why Virtual Environments Matter
In team and production settings, virtual environments are a standard requirement:
- Reproducibility: teammates and CI servers can recreate the exact same dependency set from
requirements.txt. - Isolation: installing or upgrading a package for one project cannot break another project on the same machine.
- Deployment: when shipping to a production server, you provide a clear list of packages instead of relying on whatever happens to be installed globally.
Without virtual environments, dependency version conflicts between projects become difficult to debug and resolve.
Using Built-in Module: venv
Python includes venv in the standard library.
This is the default and most portable approach across machines.
1. Create a Virtual Environment
# Windows
py -m venv .venv
python -m venv .venv

# macOS / Linux
python3 -m venv .venv
2. Activate the Environment
# Windows (PowerShell)
.venv\Scripts\Activate.ps1

# Windows (cmd)
.venv\Scripts\activate.bat

# macOS / Linux
source .venv/bin/activate
After activation, your shell usually shows (.venv).
You can verify the active interpreter with:
python -c "import sys; print(sys.executable)"
3. Install Packages Inside the Environment
python -m pip install requests
python -m pip list
Always install dependencies after activation, so packages go into .venv instead of the global Python installation.
4. Deactivate
deactivate
You can reactivate anytime with the activation command from step 2.
Save and Reuse Dependencies
python -m pip freeze > requirements.txt
python -m pip install -r requirements.txt
This keeps installs reproducible across machines.
Commit requirements.txt to version control so teammates can install the same dependency set.
Optional Modern Tool: uv
uv can manage environments and packages with fast performance.
Install (one-time):
python -m pip install uv
# or on Windows:
py -m pip install uv
Learn more: uv documentation
uv venv
uv pip install requests
venv remains the official standard-library approach, and uv is an optional productivity tool.
Common Errors
- Installing packages before activation, then imports fail inside project.
- Using
pipfrom a different interpreter thanpython(preferpython -m pip). - Activation script blocked on PowerShell due to execution policy.
- Corrupted environment after major Python upgrade; recreate by deleting
.venvand runningpython -m venv .venvagain.